It’s never been my first priority, but a music server has been on my list of ambitions for many years. I’ve bodged it in the past, giving myself a shared music folder accessible in the house, which was a quite longstanding arrangement, but not a perfect one. It meant I had access to networked music at home, and could stream from the folder to any of the stereos on which I’d set up bluetooth, but I had to anticipate what music I might want outside the house. The freedom of letting one’s music choice be led by one’s mood was still out of my reach.
No more! I bought the 4TB ssd1 and it was waiting when I got home last week. I had planned the migration, but it was still seat-of-the-pants stuff. I had to make an image of the existing drive, store it on my external harddrive, then copy the image to the new, larger drive. Then, and this is not trivial, I had to open up my server and swap the drives. I am not comfortable poking around the physical innards of computers.
Anyway, it worked. There are various disk cloning programs, but I used dd, because I felt at least a little familiar with it. It’s actually pretty simple, in both processes: imaging and duplicating. The trick is being clear about your disk identities and their mount points. I mounted the external drive to the server to make the image and gave it the name /media/seagate. From that, I was able to identify it in the list given by the enquiry lsblk, which lists all mounted drives.
Once that was established, it was a simple enough process to tell dd to make a copy and save it to the Seagate. You invoke dd, use if= to identify the source disk and then of= to name and locate the output image. Adding status=progress gives you a sense of where you are in the process. My first attempt looked like this:
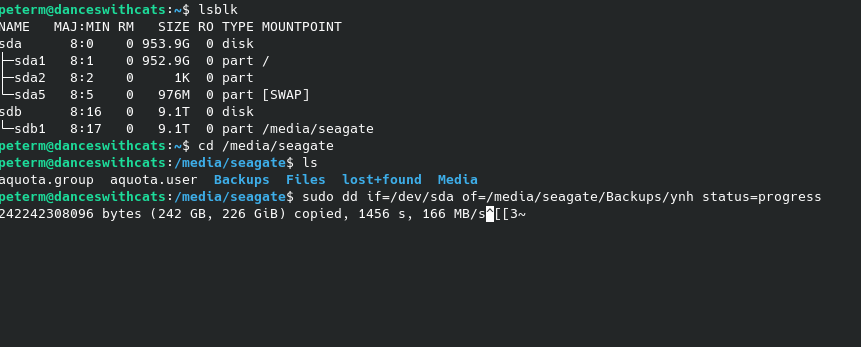


The relevant code is:
dd if=/dev/sda of=/media/seagate/Backups/ynh status=progressIt took an hour or so, but when I came back to my computer, there was a massive file on my external drive, good as new. However, I’d failed to name the file correctly, and was worried that just sticking a filetype on the end of its name would bork the whole thing. Nevertheless, I was cheered by this first run and reran it thus:
dd if=/dev/sda of=/media/seagate/Backups/ynh.img status=progressNext came the exciting bit. I hooked my new ssd up to a connector that has proved incredibly useful over the years. It’s the end piece of a hard drive caddy I bought from Currys for £15 a long time ago. I had an idea that I needed to partition the disk first. I don’t think I did. However, I opened it with gParted on my desktop machine and set a gpt partition table then created a single, 3.8TB partition. I then plugged the Seagate into my desktop and typed
dd if=/media/seagate/Backups/ynh.img of=/dev/sdcand pressed enter.
I realised, after a few minutes, that I had been stupid. The terminal had simply stayed still, within the command, suggesting the computer was working, but I had no way of seeing what it was doing. The Seagate was chuntering and the light on the ssd connector was flickering, so I assumed the transfer was taking place, but I had no idea how fast. In a fit of worry, I disconnected the ssd, killing the process.
On the next try, I added the process indicator, thus:
dd if=/media/seagate/Backups/ynh.img of=/dev/sdc status=progressThis was much better, I could see that it was working. I could also see that it was working very slowly: about 14MB/s. At that rate, it was going to take about sixteen hours. I nearly gave up there, but decided against it. I went shopping, met Amanda for a coffee in town, came home, cooked, had a nice evening and went to bed and, in the morning, there were only about 230 GB – about three hours at the slightly improved bit rate – to go.
The moment of truth came mid afternoon. Taking apart the ThinkCentre was easier than I had thought it would be. It’s one screw to take off the cover, although the hard drive caddy is not as beautifully easy to access as the later model that serves as my desktop, but it was all obvious and I managed it without too much terror. I plugged it back in, pressed power and then counted to thirty.
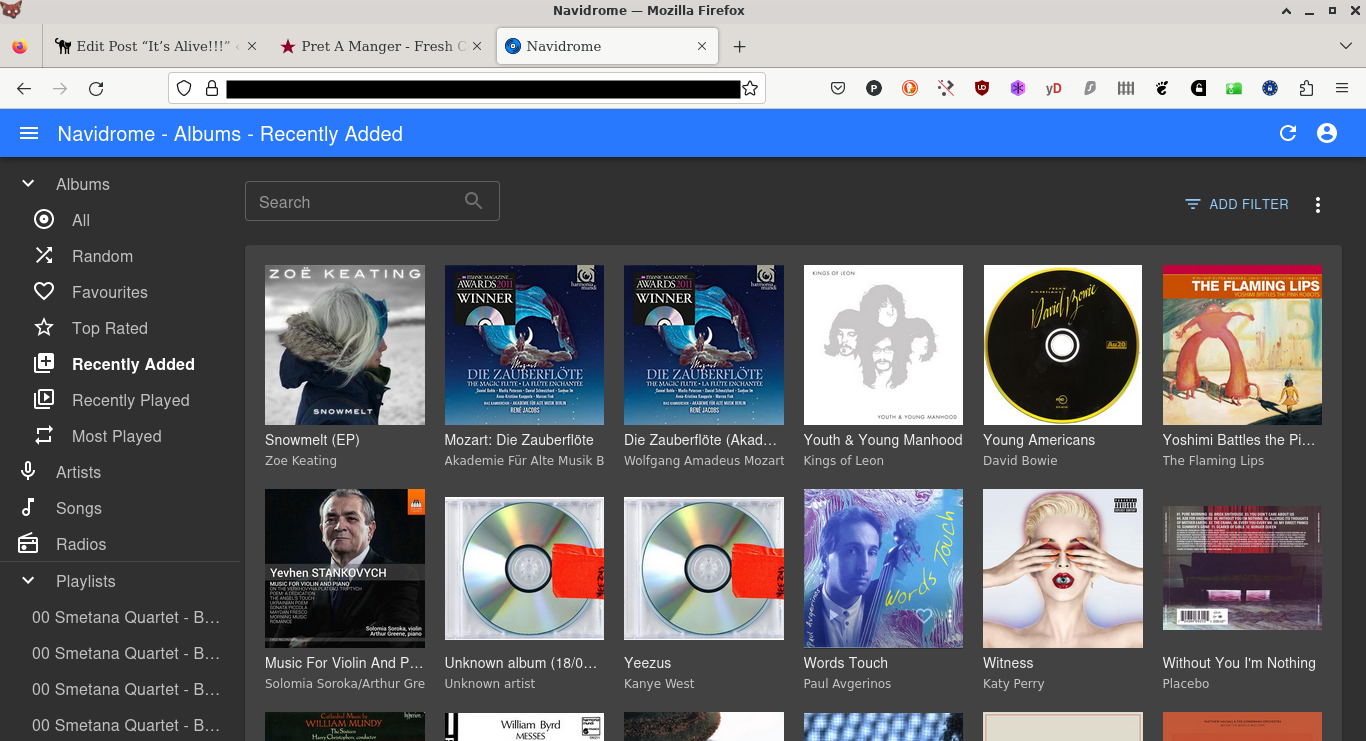
I wasn’t sure the best way to test it. Should I log in to Nextcloud or Yunohost admin? In the end, I used ssh to glance into the operating system to see whether that was on. It was. It identified itself as danceswithcats.net and said there were no outstanding updates, so I opened Firefox and clicked on the Yunohost admin page. It came up immediately and, to my delight, so did Nextcloud and Calibre Web. I opened Navidrome, the music streaming software, and it was sitting happily with no content, so I looked for its content folder and, after a few minutes’ confusion, realised that in Yunohost it stores its data in Nextcloud, in a shared multimedia folder.
The transfer of my music took another six hours: I have a lot of music, all stored as fairly large FLAC files, but it was finished by dinner time. And this is how it looked on the server.
Navidrome uses the Subsonic server model, so I installed a compatible app on my Fairphone and fiddled with the server settings and…BINGO!
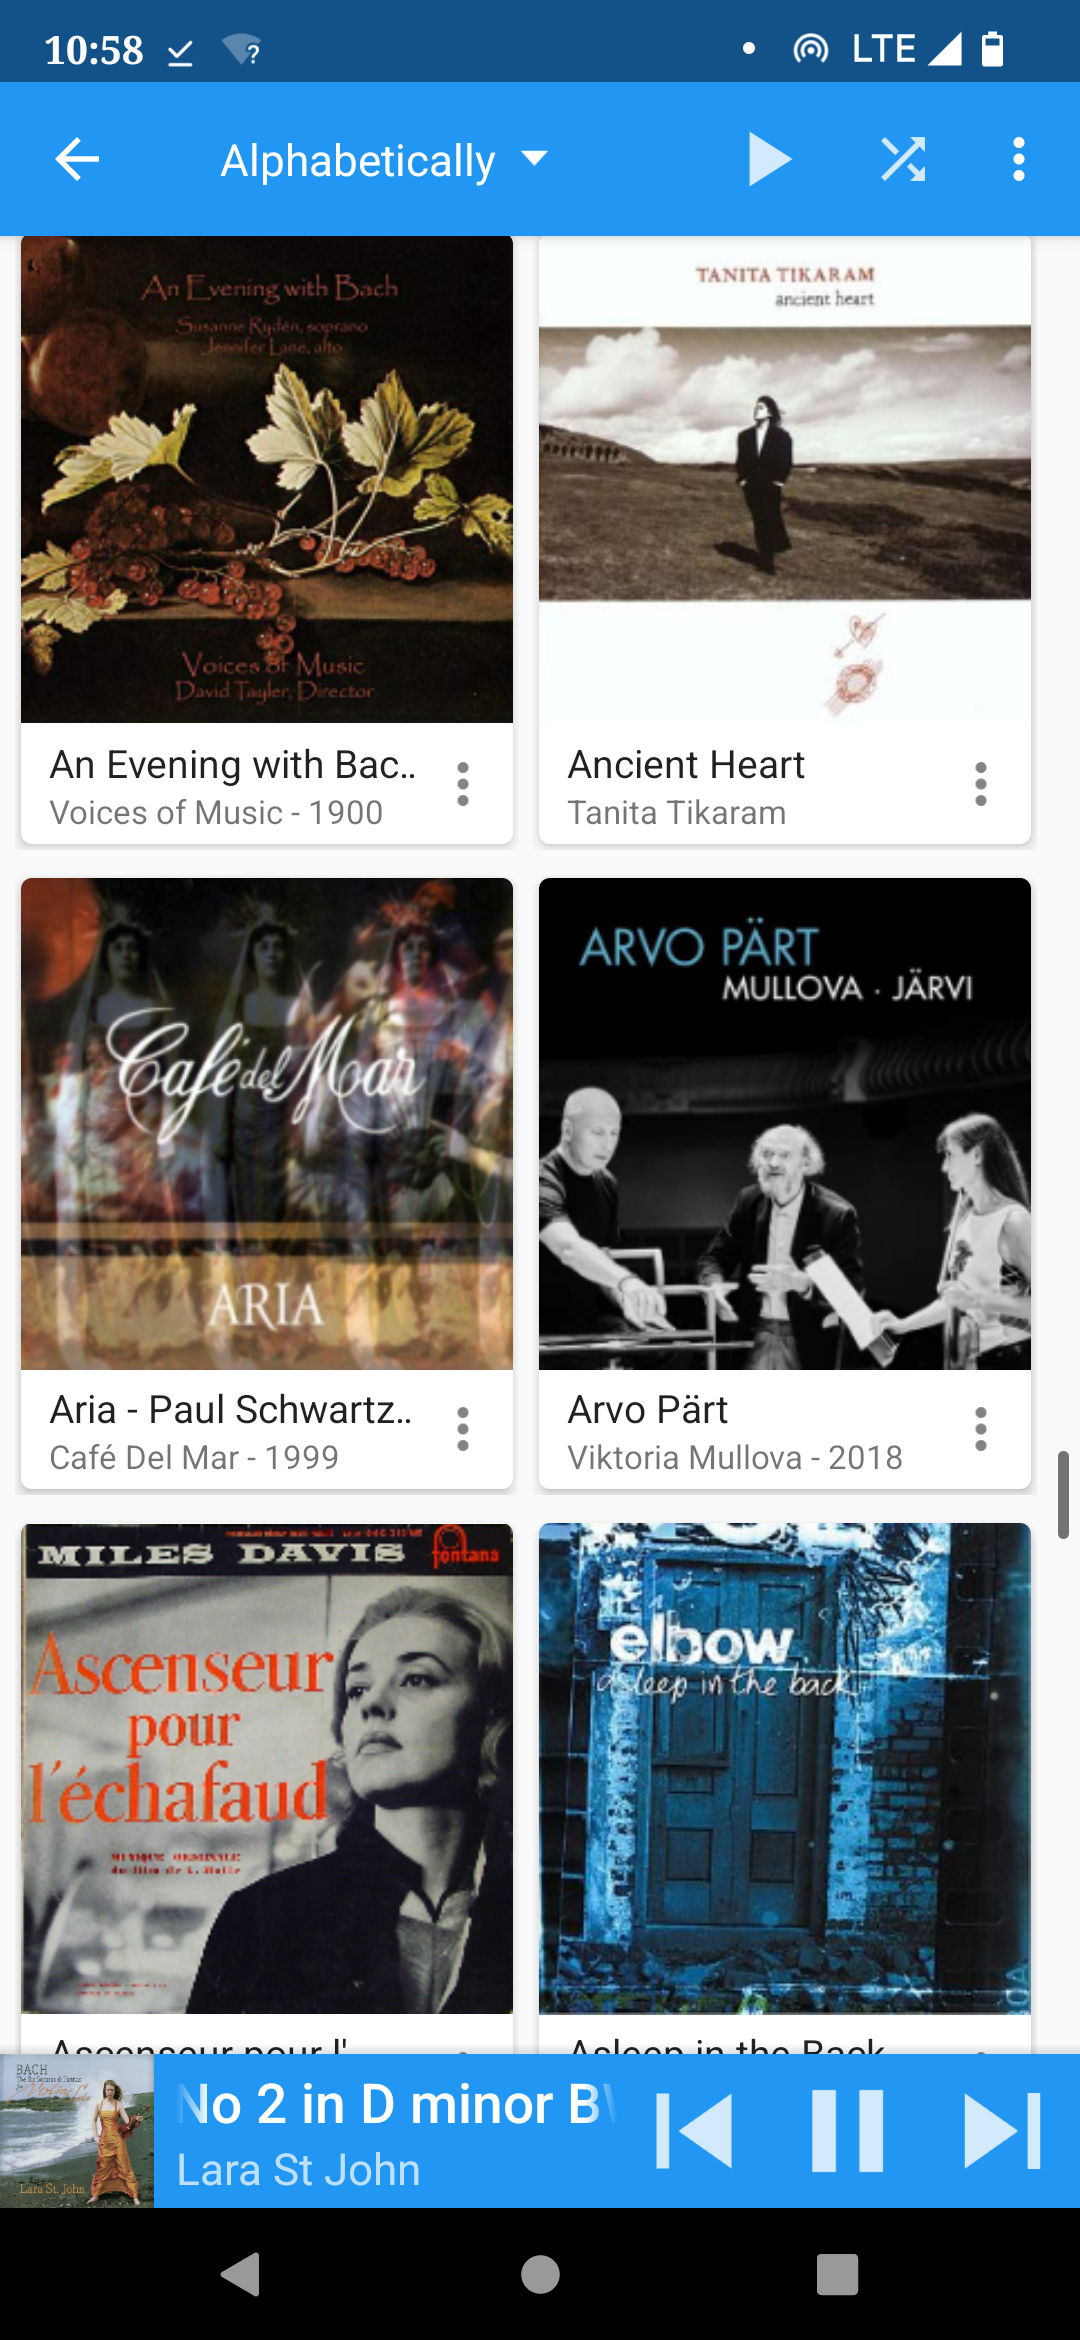
I’m on a train at the moment, and I’m listening to music cached on Dsub from my bedroom that must already be the better part of a hundred miles away. I have access to all my music and will have for all the time I’m away. In modern terms, it’s a pretty normal thing, but the fact that it is possible at all is a little bit of a miracle.
And the fact that I have built this, that I control it, and that I am not paying a subscription to a service provider who can change their terms at any time, or paying for the service with data about me, about my habits, interests and moods, is a little bit miraculous, really, isn’t it?
Leave a Reply
You must be logged in to post a comment.